Are you ever in your room or the living room and feel so hot that with every second you feel more like a fried egg on the pan? It’s tough to get comfortable sometimes when it’s warm out. If you have been hoping for a way to cool off instantly a wall fan is what you need! A wall fan keeps the air moving around you, which can make you feel significantly cooler and more comfortable. Now we are going to presents how to wall fan installation step by step. With this, you can do it all by yourself and will be relaxed in no time!
Before we begin, you need to ensure you have all the necessary tools and materials on hand. This is crucial for an effortless installation. You’ll need a screwdriver, drill, pencil, level, wire stripper, wire connectors, and of course your wall fan kit. Before getting started it is advisable to read through the instructions carefully, so you know what needs to be done. This will give you confidence while you are working.
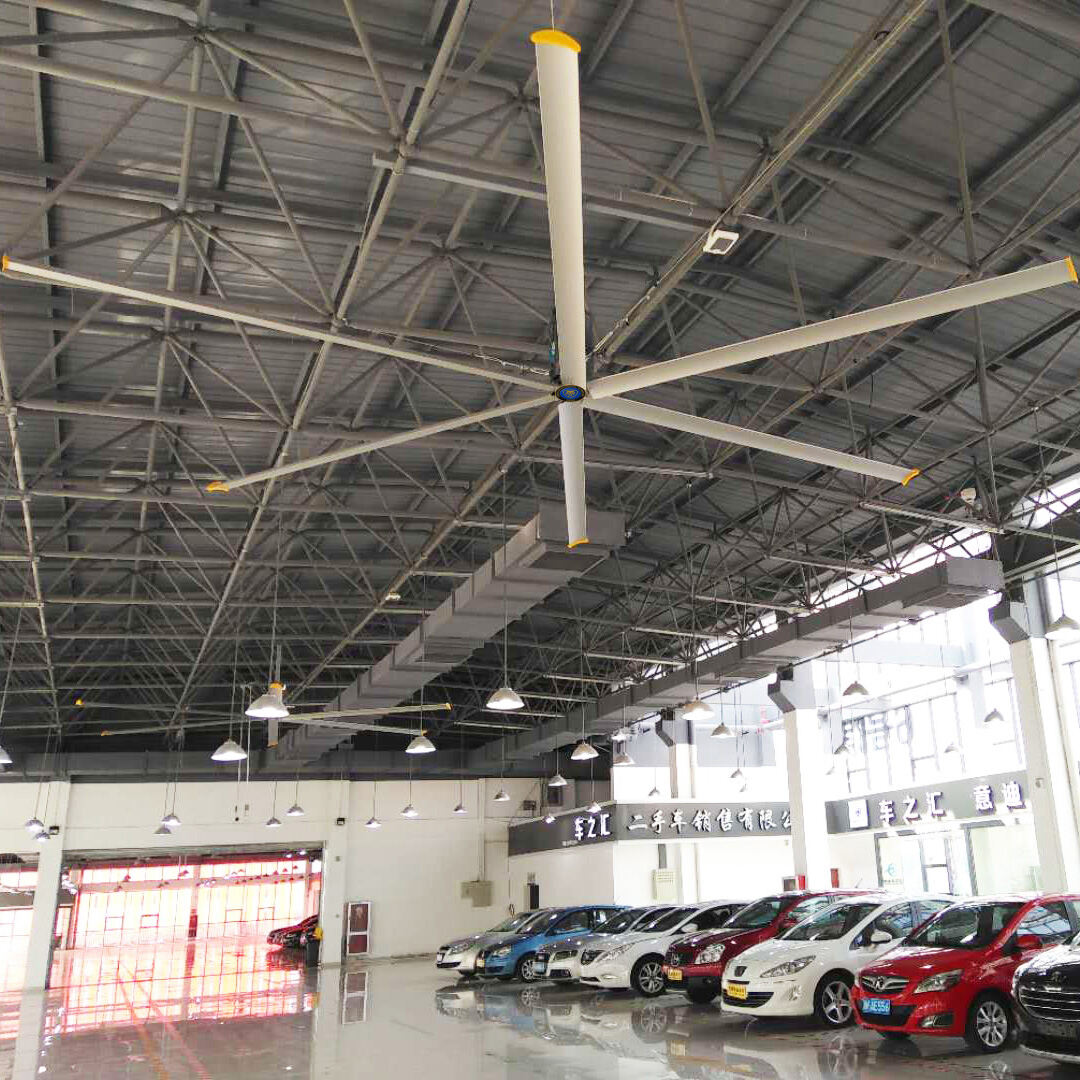
Step number is just deciding that where you want to place your wall fan. It is important to select the ideal position for it: otherwise, the fan might end up doing the opposite. Check that it’s not too near the front of any furniture, curtains, or other objects that might impede the airflow. You want that air to circulate freely around the room. Choose a spot as near as possible to an electrical outlet. That way, you can plug your fan in easily, without a long extension cord. Find a good spot and that fan will run better!
After selecting the best spot for your wall fan, it's time to ready the area. Mark the holes of the mounting bracket with your pencil. This will tell you exactly where to drill. Now is the time to use your drill and drill the holes. Make certain that the holes conform to the size screws that came with your wall fan kit. Once you have drilled the holes, its time to put the screws in the mounting bracket. Feed tightly so, ensure everything is very tightly done.
Now comes the exciting part! Now let’s install the fan itself. This is where you will need to connect the wires from the fan motor and the wires that come out of the wall. First, strip the ends of the wires with your wire stripper to expose some copper. This will help you to connect them better. Feel free to use the wire connectors to bind the wires together. Be sure to connect the correct wires, as they should be labeled in your guide.
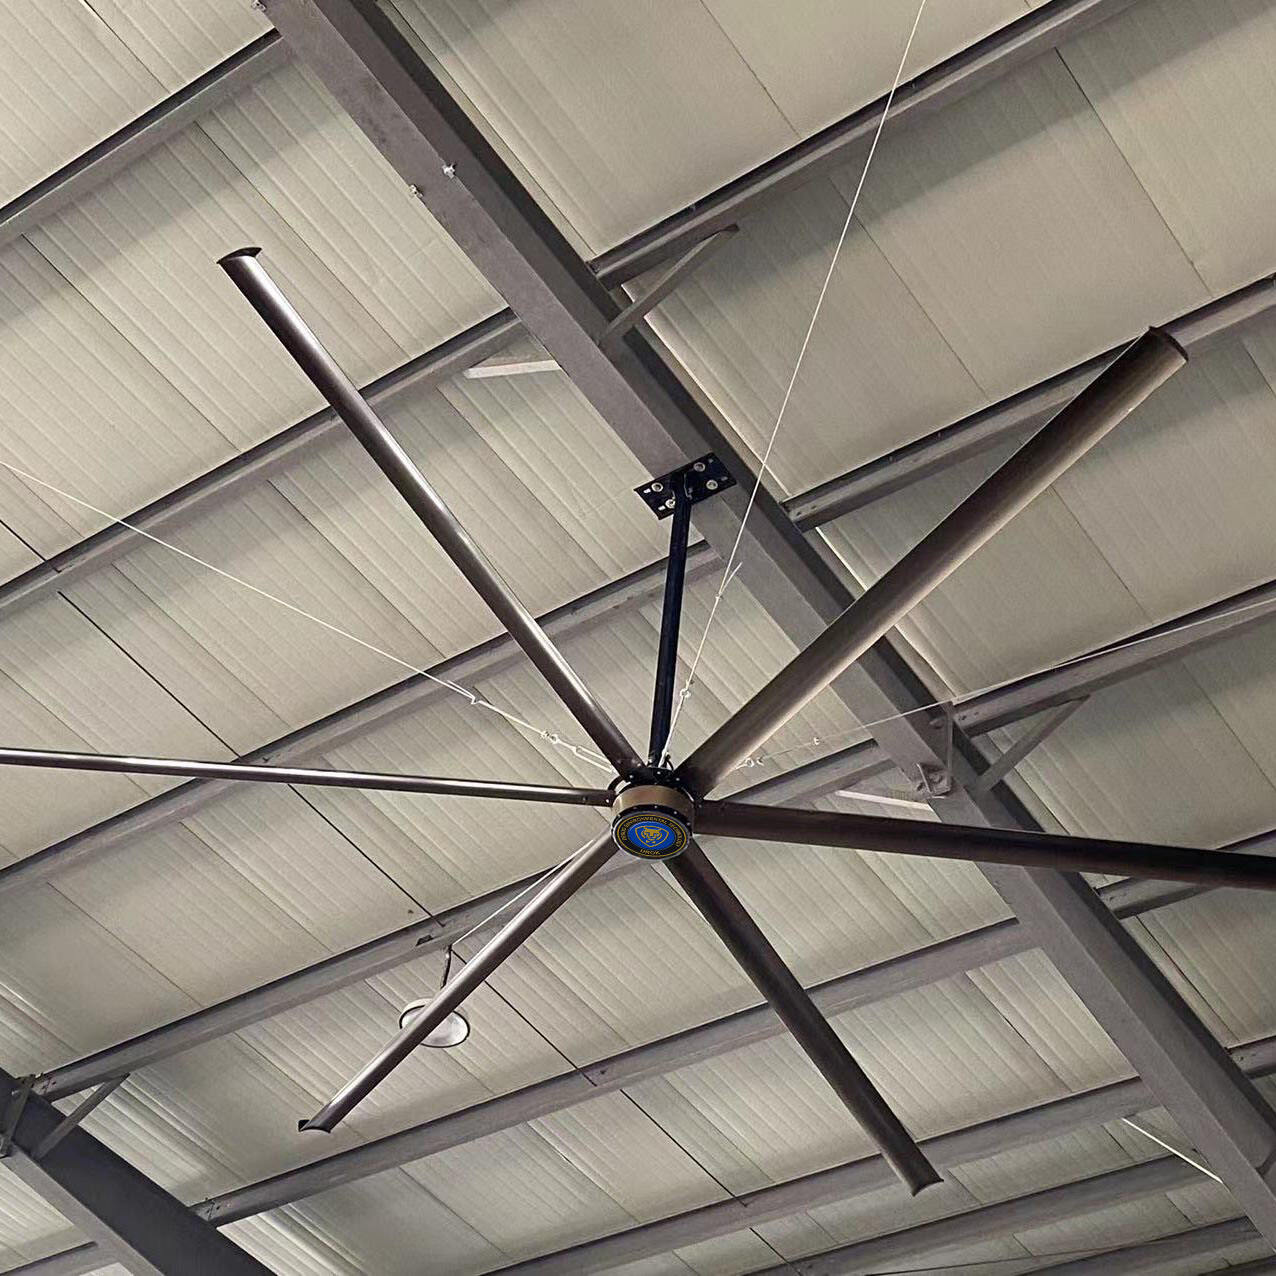
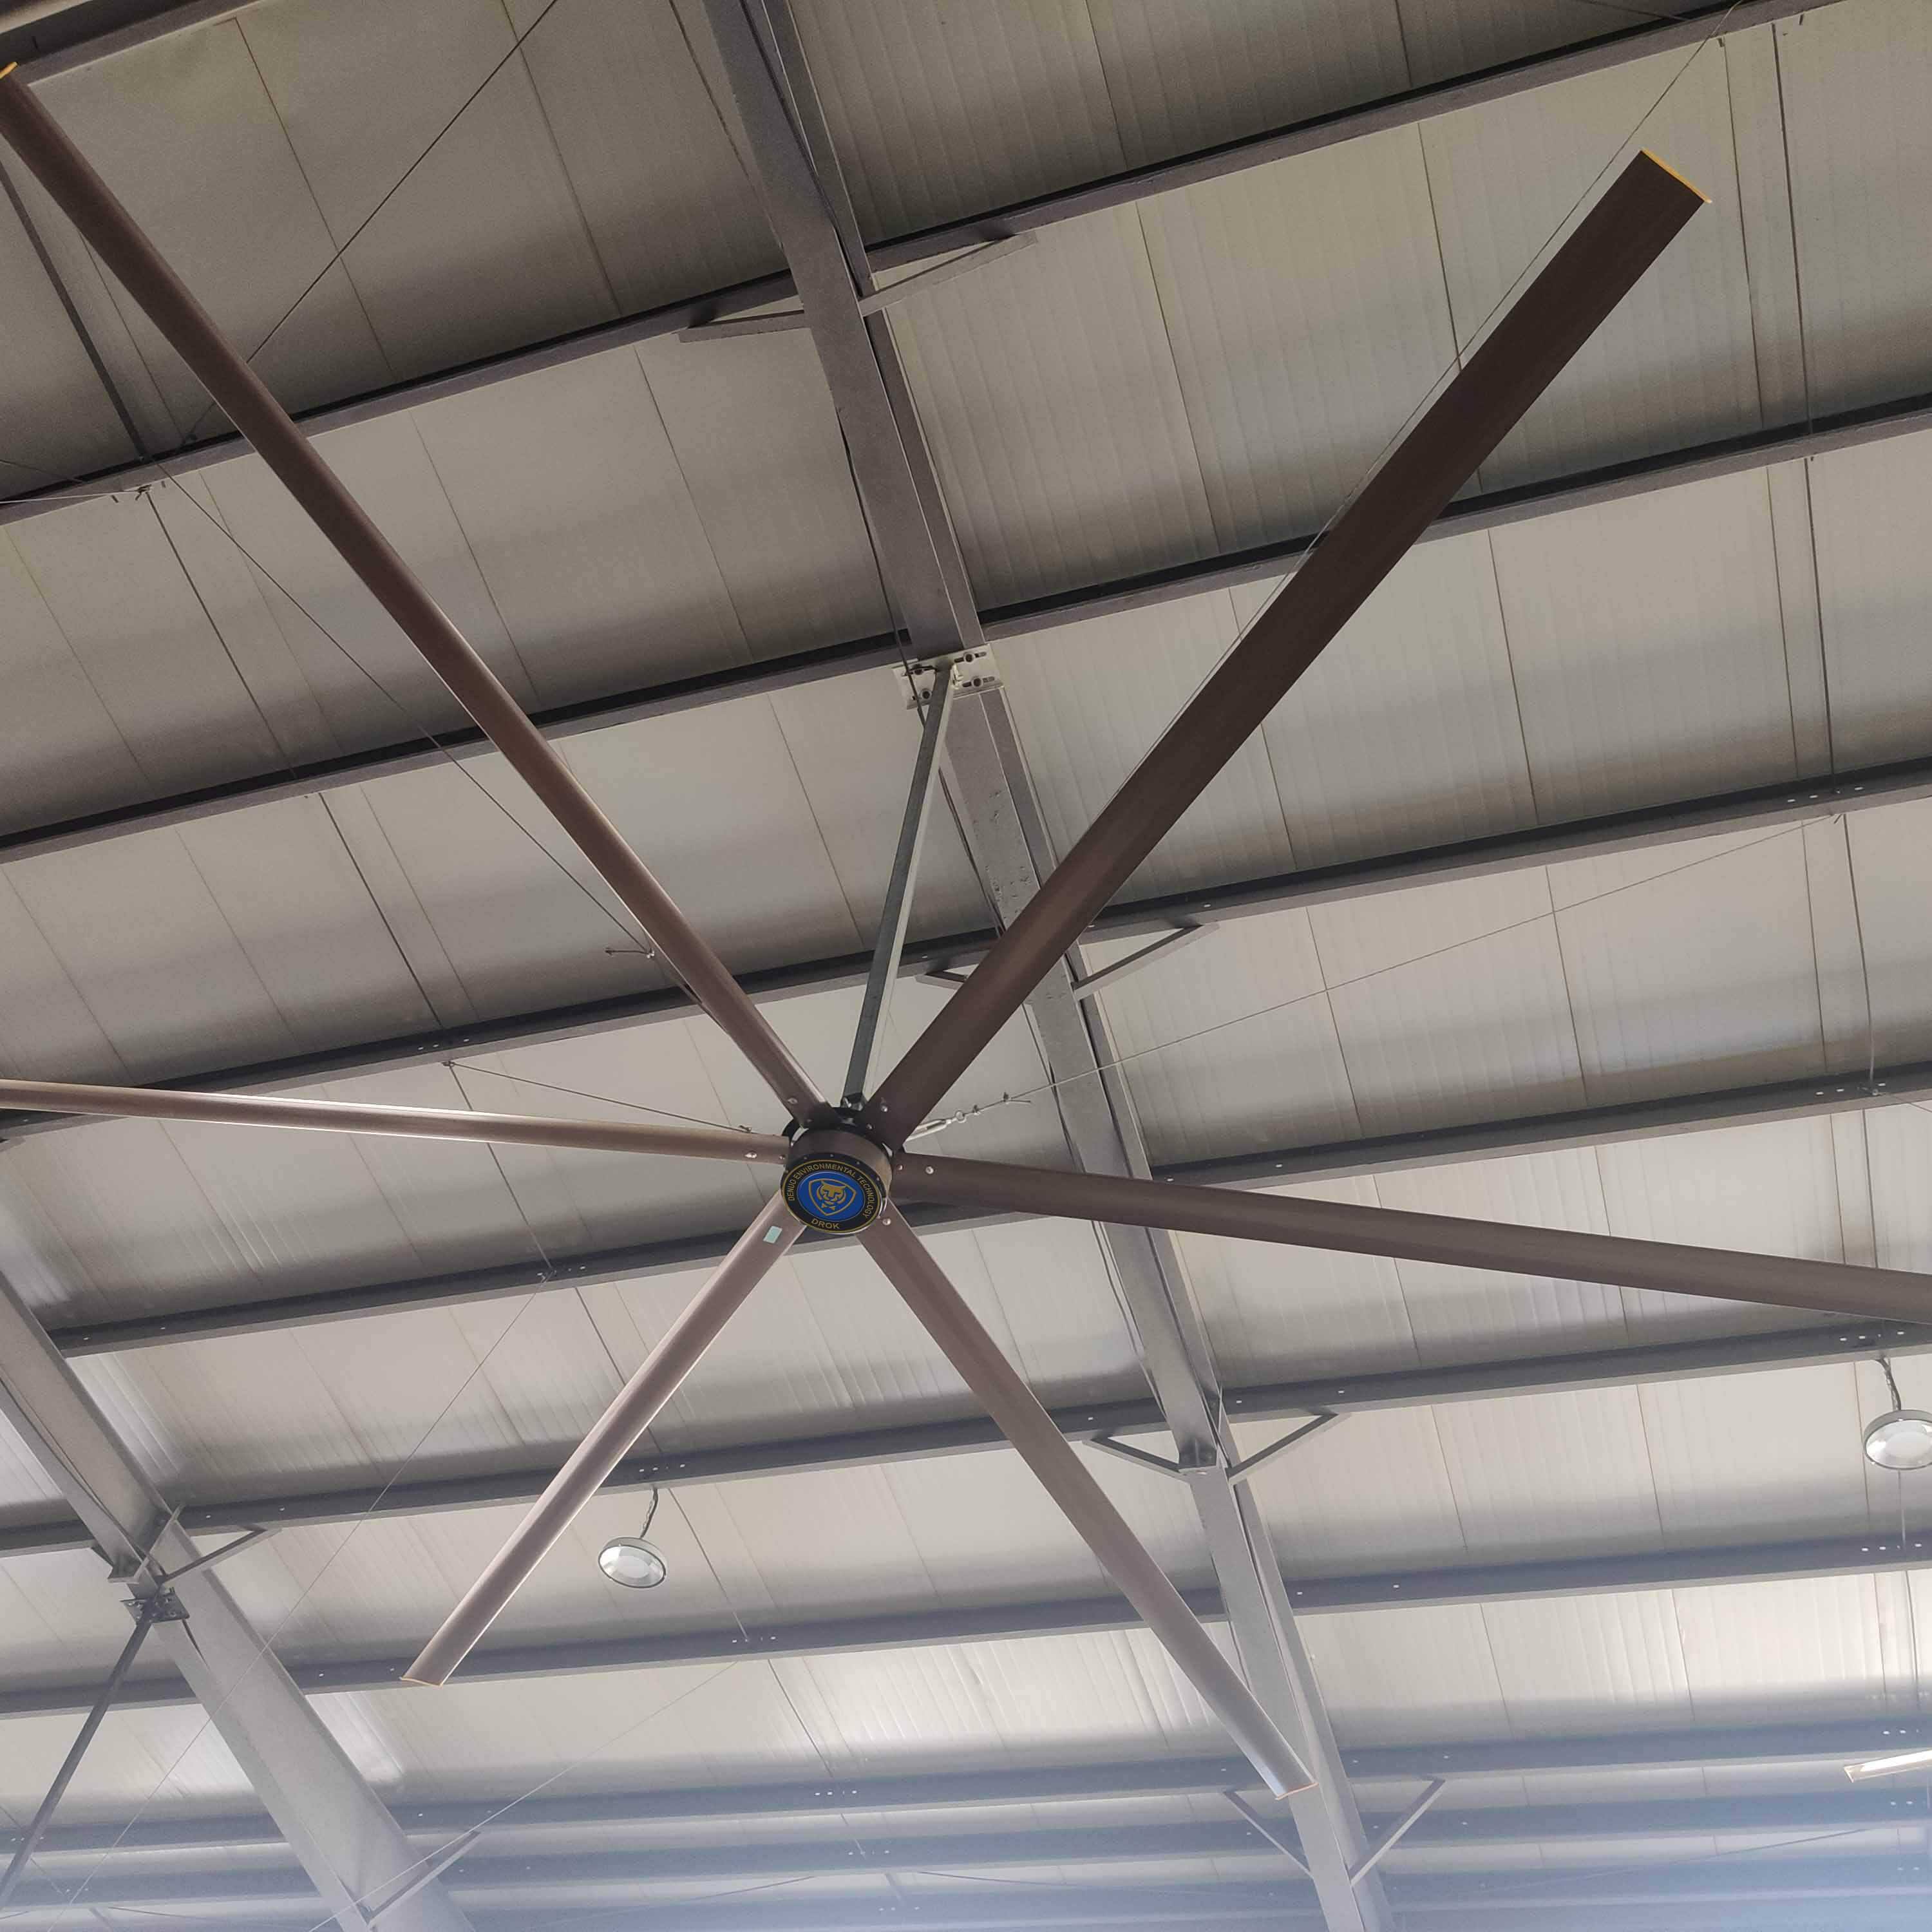
Then, using the screws that came with the fan, attach the fan motor to the mount bracket. Using a level to ensure the fan is straight is very critical. If it’s not even, it may wobble or rattle when it’s turned on. When you have it, tighten the screws down tight to hold it in.
Please take it your responsibility to read carefully through the instructions before you begin the installation. Knowing how to use the right tools and materials will only help everything go as planned! Always, though, it’s a good idea to enlist a friend or family member to help if you are not comfortable with tools. The more the merrier — teamwork makes the job easier!
 EN
EN
 AR
AR BG
BG HR
HR CS
CS DA
DA NL
NL FI
FI FR
FR DE
DE EL
EL HI
HI IT
IT JA
JA KO
KO NO
NO PL
PL PT
PT RU
RU ES
ES SV
SV CA
CA TL
TL IW
IW ID
ID LV
LV UK
UK VI
VI TH
TH TR
TR AF
AF MS
MS GA
GA UR
UR BN
BN KM
KM LO
LO MN
MN TA
TA MY
MY